Web-based Time Clocks
Web-based Time Clocks allow you to track employee time efficiently and accurately from any device that supports web applications. This documentation will guide you through setting up and using a web-based Time Clock.
Contents
System requirements
System requirements include:
-
A device—typically a laptop computer, a desktop computer, or a tablet—with internet access.
-
Latest version of one of the following web browsers: Chrome, Firefox, Safari, or Edge.
Activating your first web-based Time Clock
-
In a web browser, enter the activation URL provided by your administrator or Client Success Manager (CSM).
If the clock is not yet activated, a message appears.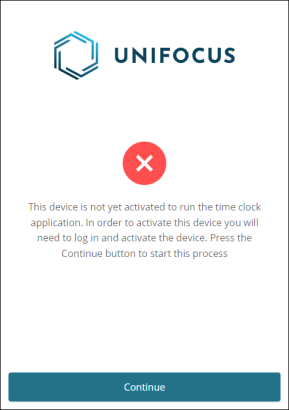
-
Select Continue.
The Sign in dialog box appears.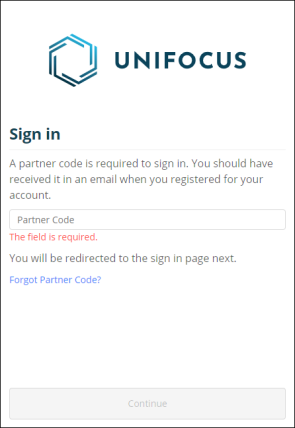
-
Enter your Partner Code.
-
Select Continue.
A new Sign In dialog box appears.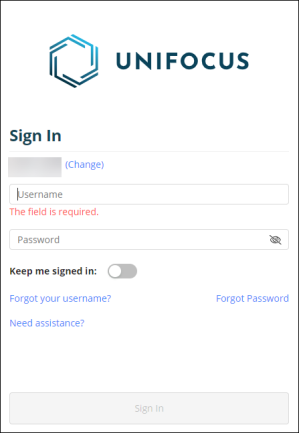
-
Enter your User name and Password.
-
If necessary, turn on Keep me signed in:
-
Select Sign in.
Another dialog box appears.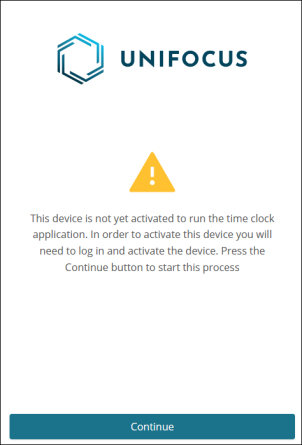
-
Select Continue.
The Activate Time Clock dialog box appears.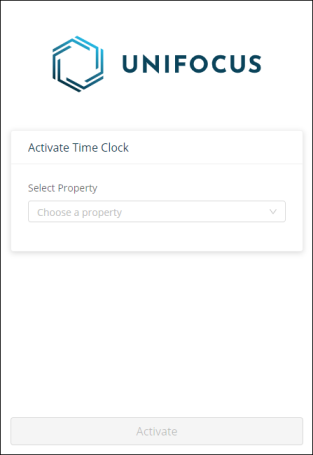
-
From the Select Property drop-down list, select a property.
-
Select a clock configuration to associate with this device.
-
Select Activate.
Your clock is activated.
Accessing the web-based Time Clock
The URL for the web-based Time Clock will be provided by your administrator or through the main time-keeping application.
-
In your web browser, enter the URL and press Enter.
-
Enter your employee credentials: access ID and employee PIN.
Activating additional web-based Time Clocks
-
Sign in using your credentials on the clock sign-in screen.
-
Check available clocks.
-
If no time clocks are available, you will be prompted to sign in to the main time-keeping application and create a new clock.
-
If time clocks are available, they will be displayed in a drop-down menu.
-
-
From the drop-down list, select the desired clock and activate it.
The clock is locked to your device.
Note: To move the clock activation to another device, you must sign back in to the main desktop application.
Creating a new web-based Time Clock
-
Sign in using your credentials on the clock sign-in screen.
-
Create a new clock:
-
Go to the clock management section.
-
Click Create New Clock and follow the on-screen instructions.
-
-
Ensure the clock is correctly configured.
-
Save the clock.
Using the web-based Time Clock
-
Sign in to the clock.
-
Select one of the following options:
-
Punch In
-
Punch Out
-
Break
-
Back
-
-
Confirm your selection.
The Time Clock screen resets to the access screen so that the next employee can access.
Frequently asked questions (FAQs)
Question 1: What should I do if I can't find my clock in the drop-down menu?
Answer 1: Ensure you have created and configured a time clock in the main time-keeping application.
Question 2: How do I move a clock activation to a new device?
Answer 2: Sign in to the main desktop application and follow the instructions to move the clock activation.
Question 3: What if I forget my employee access ID or PIN?
Answer 3: Contact your administrator to retrieve or reset your credentials.
Support
Whether you're facing a technical issue or have a question about one of our products, the Unifocus Service Desk team is here to help. With our user-friendly support process, you can submit a ticket and track the progress of your request in real-time. Our knowledgeable staff is available to quickly assist you with any questions or concerns.
Click here to access the Unifocus Service Desk portal.
Our global support email address is support@unifocus.com.
Our support phone number is 1-972-512-5130.