Registering a job on the Job console
You can register a job directly from the Job console using the toolbar at the bottom of the screen. The toolbar includes controls that allow you to quickly add a new job directly from the console.
Tip: These controls are limited and include only the minimum required fields needed to register a job. To access additional fields, select Expand ( ). The New job screen appears.
For instructions on registering a job on the New job screen, see Registering a job
Tip: For all drop-down lists, begin by typing your search criteria in the field. The list is automatically filtered to match your entry.
-
From the main menu on the left, select Service (
 ) > Job console.
The Job console appears.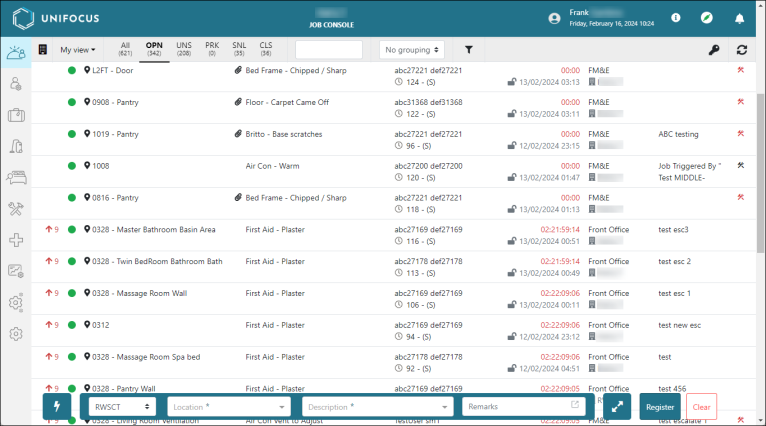
-
If the toolbar is hidden, select the lightning bolt (
 ) to expand the toolbar.
The toolbar expands. -
From the Property drop-down list, select the property for the job.
-
From the Location drop-down list, select the location where the job will be performed.
-
From the Description drop-down list, select the description that best matches the job to be performed.
-
(Optional) In the Remarks field, enter any relevant information that was not captured by previous fields.
Tip: To expand the text box, select the pop-out icon (
 ). This will give you more room to enter text.
 -
Select Register.
The job is registered, and a confirmation dialog box appears. -
When you are done reviewing the information in the confirmation dialog box, select Dismiss to close the dialog box.